How to Create the Perfect Website Navigation
Getting started with Squarespace? Sign up for a free trial here and use the code JHD10 for 10% off your first year (Yep, that's an affiliate link!)
Website navigation... That set of links at the top of your website takes up such a small amount of space, but it can have a big impact on how easy our visitors to find their way around our website.
Think about this: You walk into a shop you’ve never been to before and you don’t know where anything is. Generally, we will look around for a directory to figure out how to get from where you are to where you want to go as easy as possible and without getting lost. Your website navigation does the same thing for your website, helping get your visitors to where they need to be.
If your website navigation is overwhelming, confusing or unclear, people will struggle to find their way around or to get to the most important places. And overwhelm and confusion is one of the quickest action killers on a website. If we can't easily understand a website's navigation, it's not likely we'll hang around long enough to find what we are after! This makes it super important to give your navigation some extra attention.
6 Do’s and Don’ts for your Website Navigation
Navigation Location:
One of the first things to consider for your website navigation is making sure people know where it is. We are used to website navigation being across the top of the page, or in a sidebar on the left side of the page, so it is best to stick with what people expect to prevent any confusion for your visitors.
Clear, Easy to Understand Titles:
It should be super easy for your visitors to find exactly what they are looking for in your navigation. This means we should stick with titles that are simple and clear to prevent any confusion, and we should cut out any unnecessary words.
Your visitors generally won’t take the time to figure out what a page is if it’s not super clear to them from the start. You can always save the clever ideas for other areas of your website rather than your navigation. Marie Forleo agrees, saying clear and customer focused beats clever and cute in her Marie TV episode about copywriting (at about 4 ½ minutes she’s talking about website navigation).
Not sure what is meant by clear and easy to understand? Here are some examples of good options compared to vague or confusing ones:
Blog versus Musings
Contact versus Let’s Chat
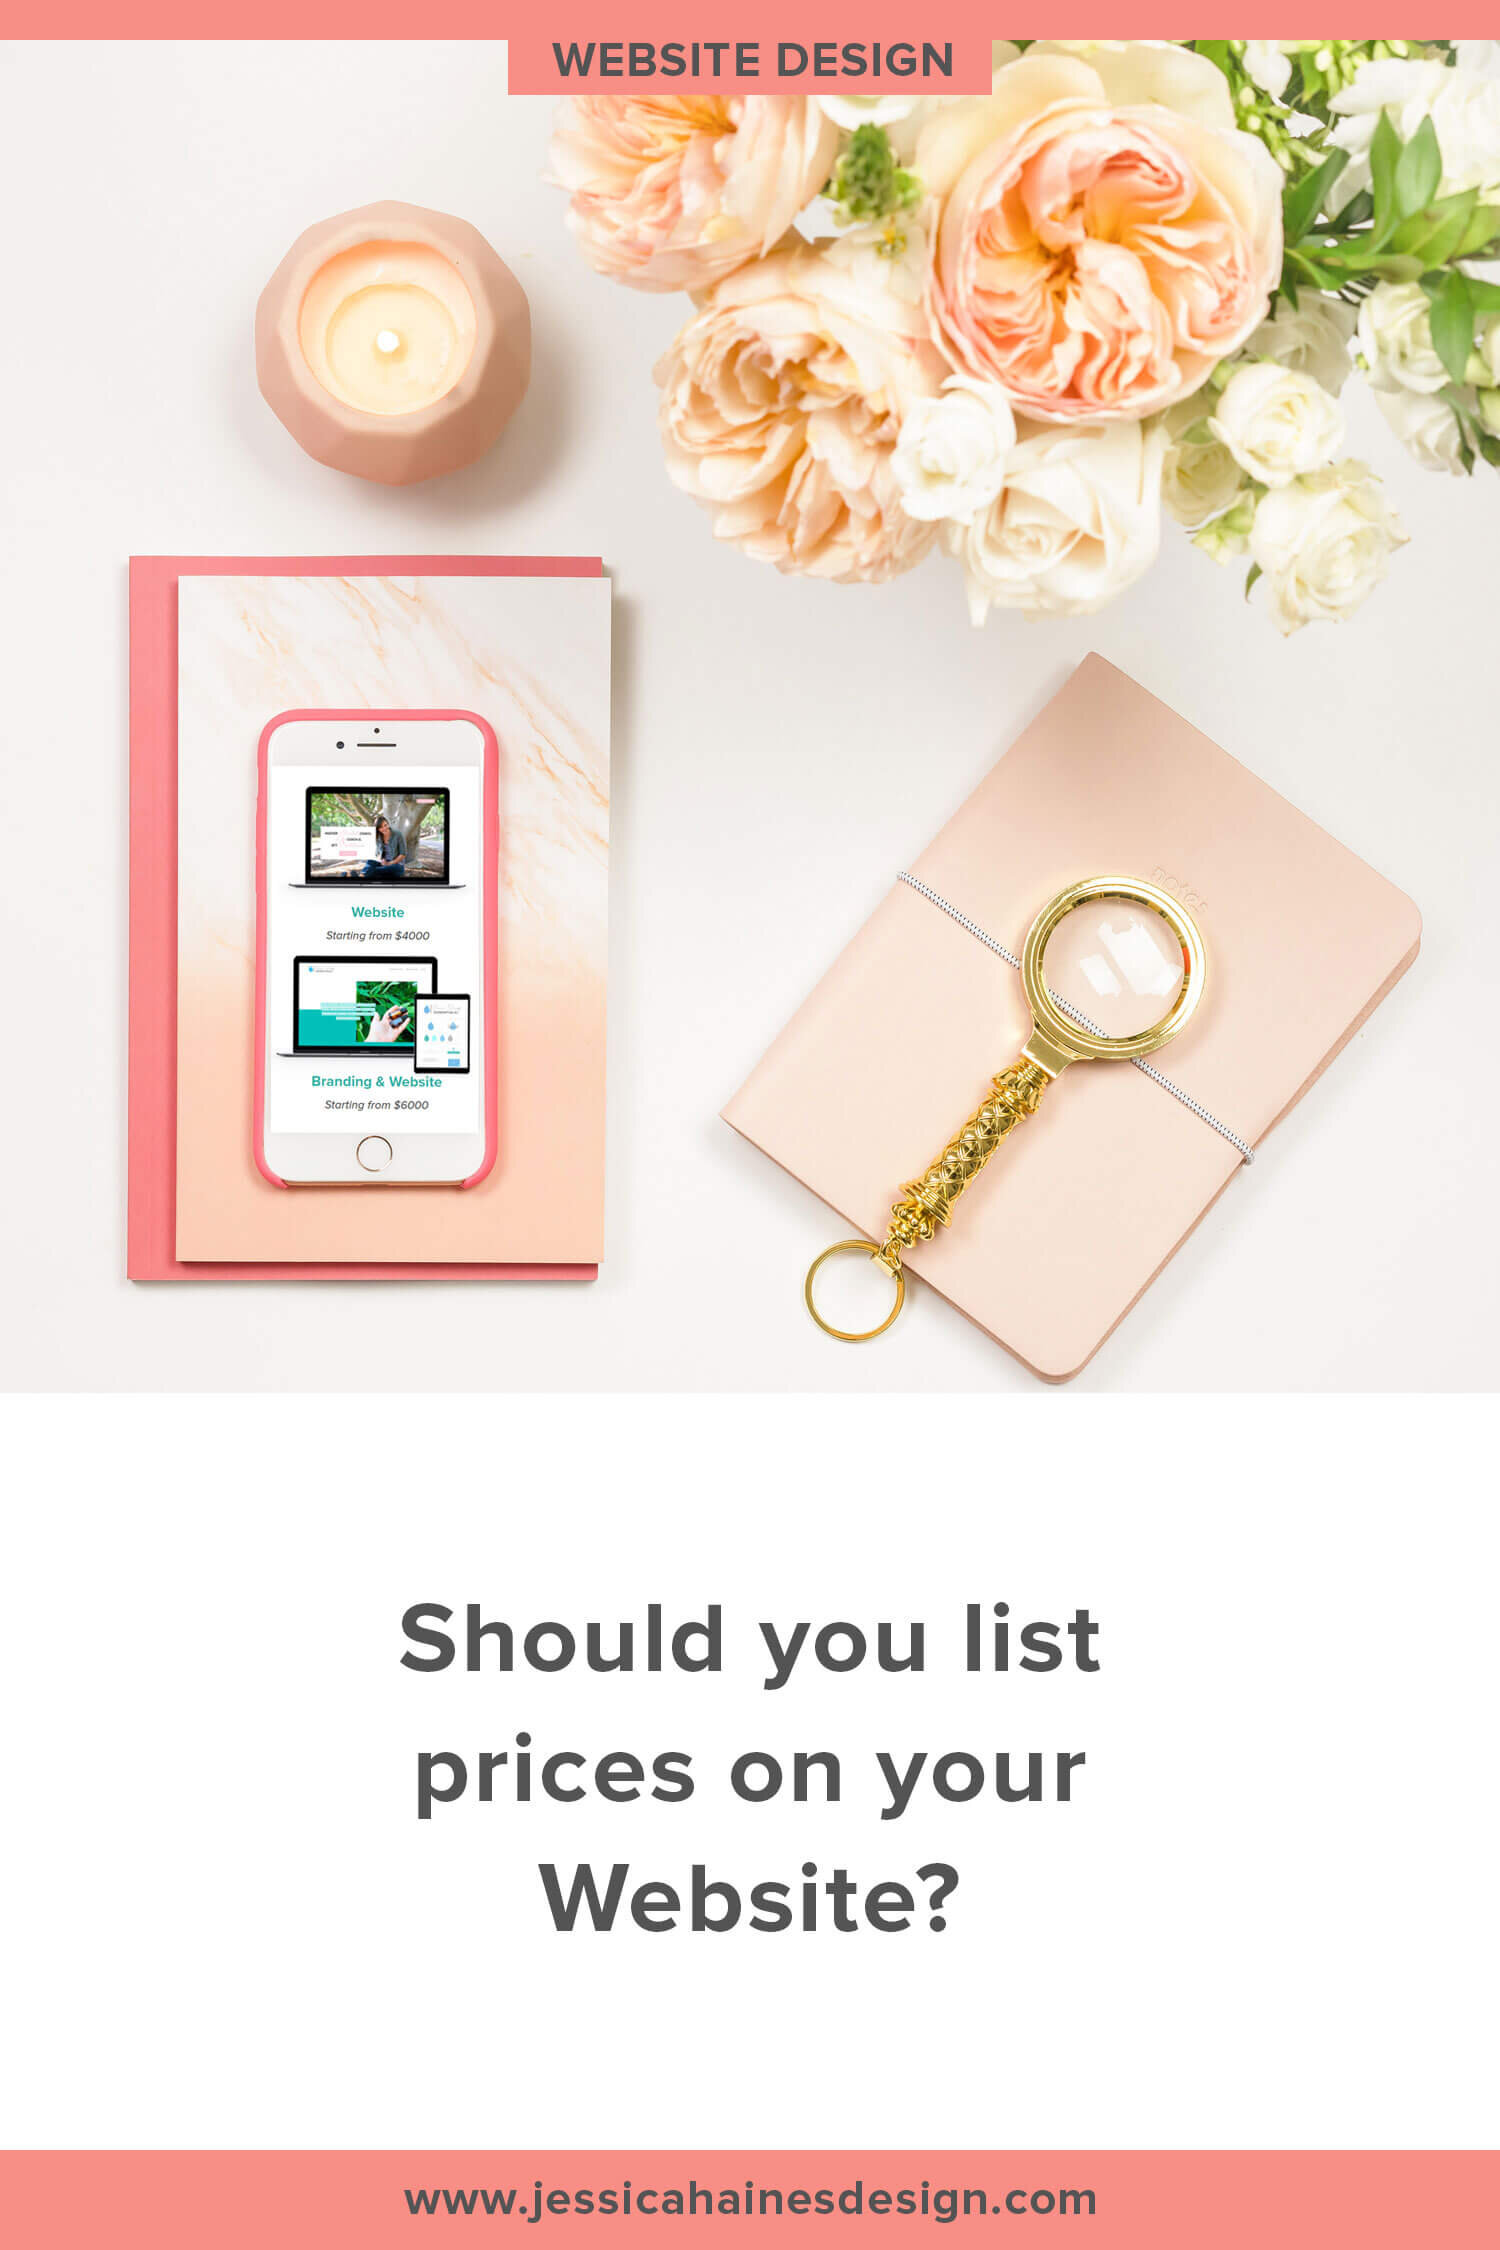
Prices versus View Our Prices
Services versus What I have to Share
I know these titles may seem boring and overused, but there is a reason for that! Your visitors expect easy to understand titles, and using options likes this means they never have to guess where they want to go next!
Less is More
You don’t need to have every page of your website showing in your main navigation. In fact, it’s recommended to stick with less than 6 items where possible, since too many options can become overwhelming for your visitors and make them less likely to go further through your website.
Not sure what to include in your navigation? Think about your website goals, the 1-2 actions that you want someone to do on your website. Now, what journey does a person need to take through your website to get to the point of making one of those actions?
For example, my website goals are to get people to sign up for my email list or for them to hire me to design their website.
Sharing valuable content on my blog is a great way to encourage people to sign up for my email list because they can see the value I provide and the freebies that I offer. For someone to hire me, they will generally want to see my portfolio to make sure my style is a good fit for them and they may want to know more about me. Then they’ll likely want to know about the design process before booking a call.
Therefore my navigation shows my portfolio, about page, work with me page and blog.
Of course, there are other pages I need to have on my website, for example, my contact page, my FAQ’s page and my website legal information, but these pages aren’t going to grow my business anytime soon, so I have these showing in my website footer and linked from other pages instead.
Once you know what items you want to include in your navigation, you can sort them by how someone will move through your website to the action you want them to take.
Another quick note: You can remove Home from your website navigation since most people know that clicking on a website logo will take you back to your home page automatically. In Squarespace, this is done by dragging it to the Not Linked section on the Pages tab.
Having fewer items in your navigation also ensures your website will look great on all screen sizes, and it really does help to streamline and organize your website more effectively.
Drop Down Menus
Drop down menus can be overwhelming to your website visitors due to the large number of items they contain. Add to that how overused they are, and people tend to find them annoying, so they are becoming outdated anyway.
Think about this, once someone has clicked on an item in your navigation, they’ve made a decision to go on a journey further into your website. Why would we ask them to make another straight away without getting anything in return first?
Instead of having a drop-down menu, use the broad category for the menu item instead. Then on the page, you can give a short summary about the items within the category and have a call to action button to learn more, which takes your visitor to the next step in their website journey. You can clearly define the sections with different colored backgrounds or separating lines so they stand out.
A good example of this is Megan Minns products page. Her navigation shows as Products, but once you click through, you can see the actual products she sells laid out with a summary of what they are and a button to take you to purchase.

Use a Button for your Main CTA
Our website navigation is visible on every page of our website, so why not make our main call to action stand out even more by turning it into a button?
If you look at websites with login sections, quite often you will see Login or Sign Up as a button to drive more action, although you can use a button to create action for whatever your main website goal is.
In Squarespace, some templates allow you to do this in the Site Styles settings, or by using a secondary navigation option and styling the option as a button. You can use the Squarespace Support documents to look up your specific template to see if it has the function of having a button in the navigation and how to make the updates.
Social Media Links
The purpose of your website navigation is to link you to other sections of your website and help your visitors find what they are after on your website. Putting social media links in your navigation doesn’t take someone further into your website though. In fact, it takes them away from your website even after you have worked so hard to get them there.
Instead of having your social media links in the main navigation, your website footer may be a good alternative option so that you can keep your visitors hanging around for as long as possible while still leaving the links very easy to find.
Squarespace Navigation
Now you know some navigation best practices, let’s talk about getting your navigation set up in Squarespace!
Setting up your Navigation
When you start building your website or making updates, you want to set up your website foundation by adding the pages you want to use and creating your navigation so you can add any links between the pages as you design each page.
From the Pages tab in Squarespace, depending on the template you are using, you will see options on the left of the page for Primary Navigation, Secondary Navigation, Footer Navigation and Not Linked. The Primary Navigation (and Secondary Navigation, if you’re template has it) is the one that sits at the top of your website and is the section we are talking about in this post.
You want to start by adding each of your website pages that you would like to have in your main navigation. Click the +, then you can choose the type of page to use and will be given the option to add a Navigation Title. This is where you add the name you want the page to show as in your navigation.
Once you have created the pages you would like to have in your navigation, you can then drag and drop them in the order you would like them to show across the top of your website.
Differences Between Navigation and Page Title
While you are adding the Navigation Title, you will also see an option for Page Title further down the page. This will automatically populate with the Navigation Title, but you have the option to change it so that you can add a bit more information about the page and use some of your keywords to help your website show in Google searches.
This page title is also what reflects on Google search results and also across the top of your browser, so adding some extra description here can be helpful to show your visitors and potential visitors more about what your page is about.
Site Styles and Mobile Styles
Once you have your navigation set up, you want to head into the Site Styles settings so you can style your navigation to look the way you want it to. Different templates have different settings you can update, but you will likely see options such as:
Font and font size
Font color
Color on hover
Navigation position
The spacing between the navigation items (so they are clearly separated and easy to see)
While you are in Site Styles, don’t forget to look at the mobile navigation options as well. Here you will usually see options such as the type of navigation button on mobile, the spacing between the items, the fonts, font colors and more.
To learn more about styling the navigation, Squarespace Support has some great instructions.
We don’t always give a lot of thought to what we put in our website navigation, but taking a few extra moments to plan it out can help keep our visitors hanging around and exploring. This helps build up the know, like and trust factor and give them more chance to take action, so our navigation really is worth a little extra attention!
Looking for help to launch a website you love?